What is DTF Printing?
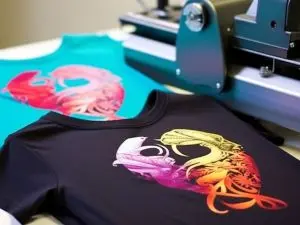
As its name suggests, Direct To Film printing is full colour printing on a sheet of film which is then applied to the fabric by heat transfer. For those asking, what is DTF printing or what does DTF print mean, it’s a modern digital method that uses a direct to film printer to create a high-quality print that is then transferred to garments.
It is a relatively new technique which is gaining ground within digital textile printing because it can be applied on any surface: cotton, polyester, blended fabrics, among others.
We highly recommend it for companies that want a durable print with good visibility on their uniforms. Also for clothing brands that need the versatility of vinyl or transfer, but with the durability of screen printing.
The feel is very similar to vinyl printing, but the advantage of direct to film printing is that there’s no need to ‘chop’ excess material, and it has better durability and rebound. If you've ever wondered, can you use sublimation ink for DTF printing, you can't; DTF requires specific ink for adhesion and quality.
Why Choose DTF Printing?
The textile industry has been growing rapidly in recent times, and many have started to opt for digital printing over screen printing. DTF printing UK is one of the leading trends. Using a DTF printer UK offers simplicity and full-colour vibrancy even on small print runs.
Within digital textile printing, there are several techniques:
- Textile Sublimation (used for polyester)
- DTG (Direct to Garment)
- DTF (Direct to Film)
If you’re asking, DTF vs DTG printing or DTF vs screen printing quality, know that DTF delivers sharper white ink coverage and is better suited for a wider range of fabrics. It's a go-to for difficult-to-print garments.
Behind the Print: The 6-Steps of DTF Printing

1. Printing on Film
In this step, instead of printing directly onto the garment, the printer prints onto a PET film using a DTF printing machine. First the mirror print of the design is made and then another layer of white is printed on top.

2. Powdering & Melt the Powder
After printing onto the PET film, hot-melt adhesive powder is applied to the wet white ink side to ensure strong fabric adhesion. Excess powder is removed, and the film printing is then cured in an oven at 160–180°C for 2 to 5 minutes, activating the adhesive and preparing it for transfer.

3. Pre-Press
This process helps the fabric to be well prepared for the transfer of the design, smoothes the fabric and ensures dehumidification, the process usually takes between 2 to 5 seconds.

4. Transfer
This is the most important step in DTF printing. This is where the dtf print on t shirt takes place. First the film with the design is laid on the pre-pressed fabric inside the heat press to achieve a strong pressure so that the design is transferred correctly. This process is called “curing” and takes about 15 to 20 seconds at a temperature of 160 to 180 degrees Celsius.

5. Separate
It is very important to allow the fabric and film to cool to room temperature before separating and removing the film. Here it is important to check that the quality of the pattern, framing and adhesion to the fabric are optimal before proceeding with the rest.

6. Post-Press
This step is optional but gives a better finish and durability to the print. Basically it is to perform a second final pressing on the print and the fabric for about 10 to 15 seconds. A thin kraft paper should be used to ensure that the print is not damaged.
Advantages of DTF printing
1. No pre-treatment required on the garment.
2. Colourful, saturated designs and unlimited colours.
3. Application on cotton, polyester, blended fabrics and more.
4. Versatility in printing position and placement of the design in difficult locations.
5. Pure, solid colour printing compared to DTG. Sharper white.
6. High level of detail.
7. The best result on complicated garments such as sweatshirts, technical T-shirts, etc.
Disadvantages of DTF printing
1. Soft touch but can feel like soft plastic on the fabric.
2. It is not possible to make gradients to the garment colour. It is possible to work with dot weft.
3. DTG can be more pleasant to the touch.
4. Longer production time, therefore more expensive than DTG.
Not Sure Yet? Try a Sample - DTF Printing
At Garment Printing, we understand that choosing between screen printed transfers vs DTF can be tricky especially when you haven’t seen the final result. With our direct to film printers, you get bold, vibrant colours and incredible detail on almost any fabric. It’s ideal for full-colour designs, logos, and artwork with gradients or fine lines.
But we also know that when you're investing in custom garments, quality and accuracy matter. That’s why we offer DTF print samples and blank garments —so you can feel the fabric, inspect the finish, and be confident you’re making the right choice. Whether you are exploring dye sublimation vs DTF printing, our team will help you make the right choice.
No more guesswork. Just real results, upfront. Try a sample first and move ahead with total peace of mind.

More Printing Techniques
Looking for the perfect match for your design? Explore our full range of garment printing options to find the technique that suits your fabric, style, and budget. Whether you're after vibrant colours, fine details, or eco-conscious choices, we offer expert advice and tailored solutions to bring your ideas to life.
Additional Screen Printing Techniques
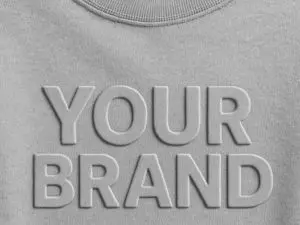
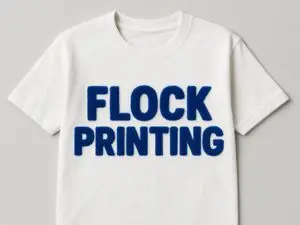
Want to take your screen printing to the next level? Our additional screen printing techniques offer creative ways to make your designs pop. From textured effects to specialty inks, these enhancements provide standout finishes that elevate your garments beyond standard prints. Ideal for bold branding, promotional wear, or fashion-forward collections, these advanced options help you push creative boundaries with confidence.
Frequently Asked Questions (FAQs)
Q: What is direct to film transfer printing?
Direct to Film (DTF) transfer printing is a digital printing process where full-colour designs are printed onto a special film, then heat-pressed onto fabric. This method allows for vibrant, detailed prints that can be applied to a wide range of materials, including cotton, polyester, and blends. It’s especially popular for small runs and complex designs.
Q: Is direct to film printing good quality?
Yes, DTF printing offers excellent quality with bold colours, sharp details, and strong fabric adhesion. It’s particularly well-suited for printing intricate graphics, fine lines, and full-colour artwork. The finish is durable and long-lasting, making it a strong choice for both fashion and workwear.
Q: What are the disadvantages of DTF?
While DTF printing provides great versatility, it does have a few drawbacks. The print can feel slightly like a soft plastic layer, especially on lighter fabrics. It doesn’t allow for gradients that fade into the garment’s colour and can be more expensive and slower than DTG for certain runs. Touch and breathability may not be as natural as traditional methods like DTG or screen printing.
Q: Is DTF as good as screen printing?
DTF and screen printing each have their strengths. DTF excels with detailed, multi-colour designs and small orders, offering flexibility and vibrant results on many fabric types. Screen printing, on the other hand, is often better for large volumes and solid, single-colour prints due to its durability and cost-effectiveness. The best choice depends on your design, fabric, and order size.
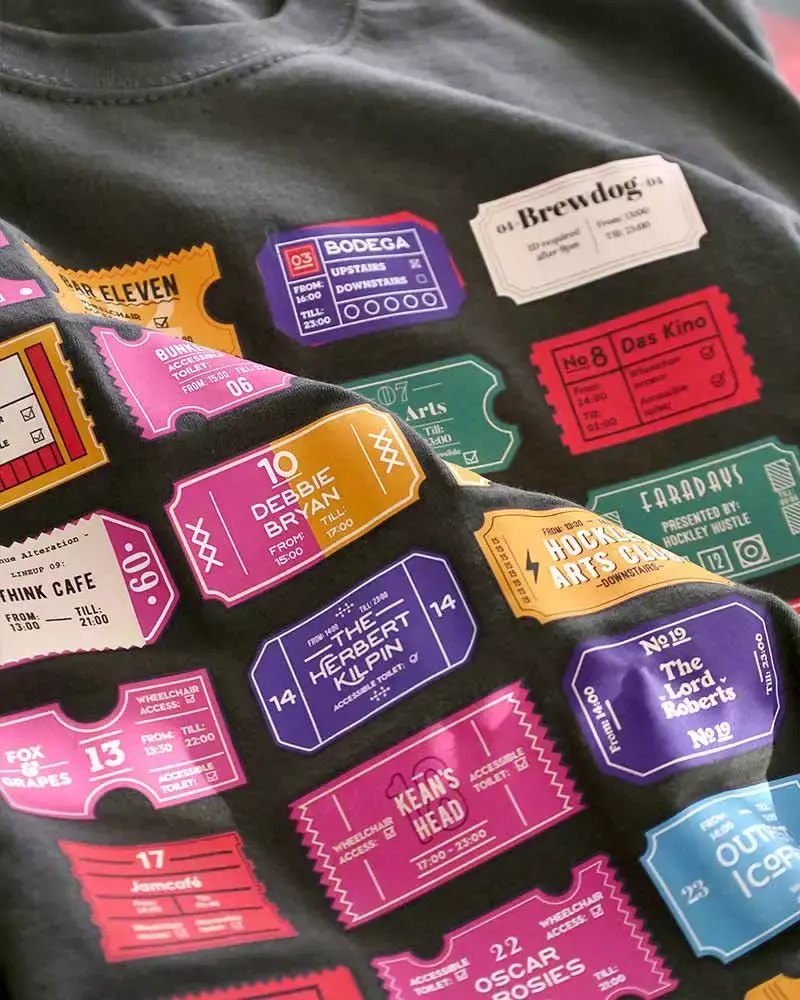
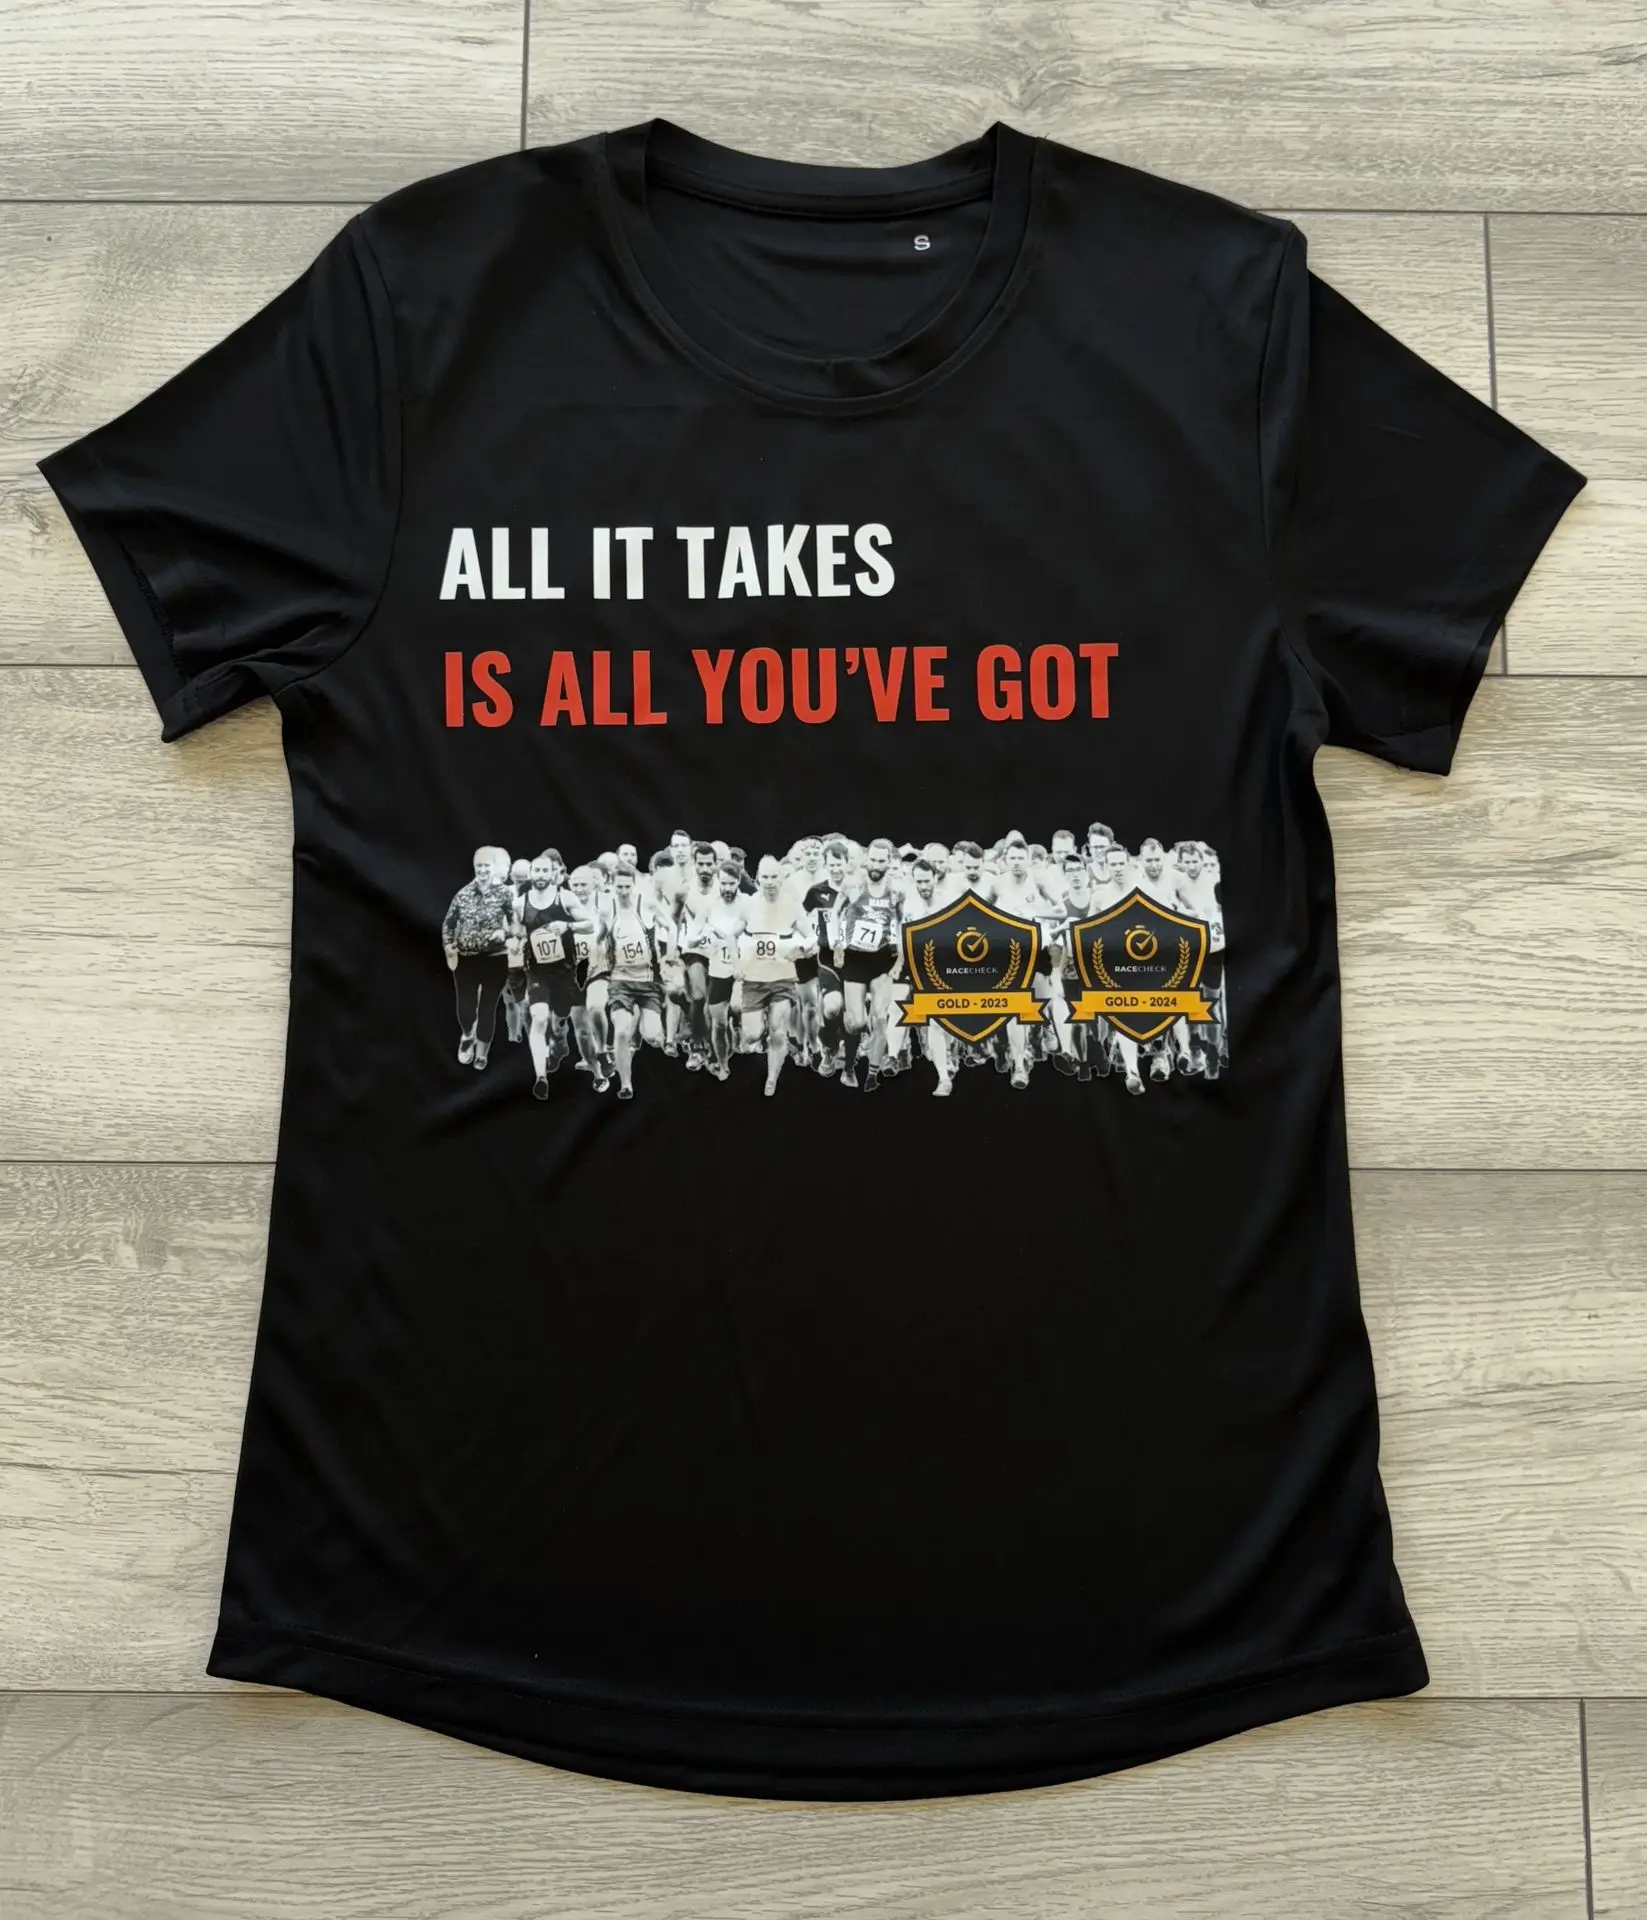
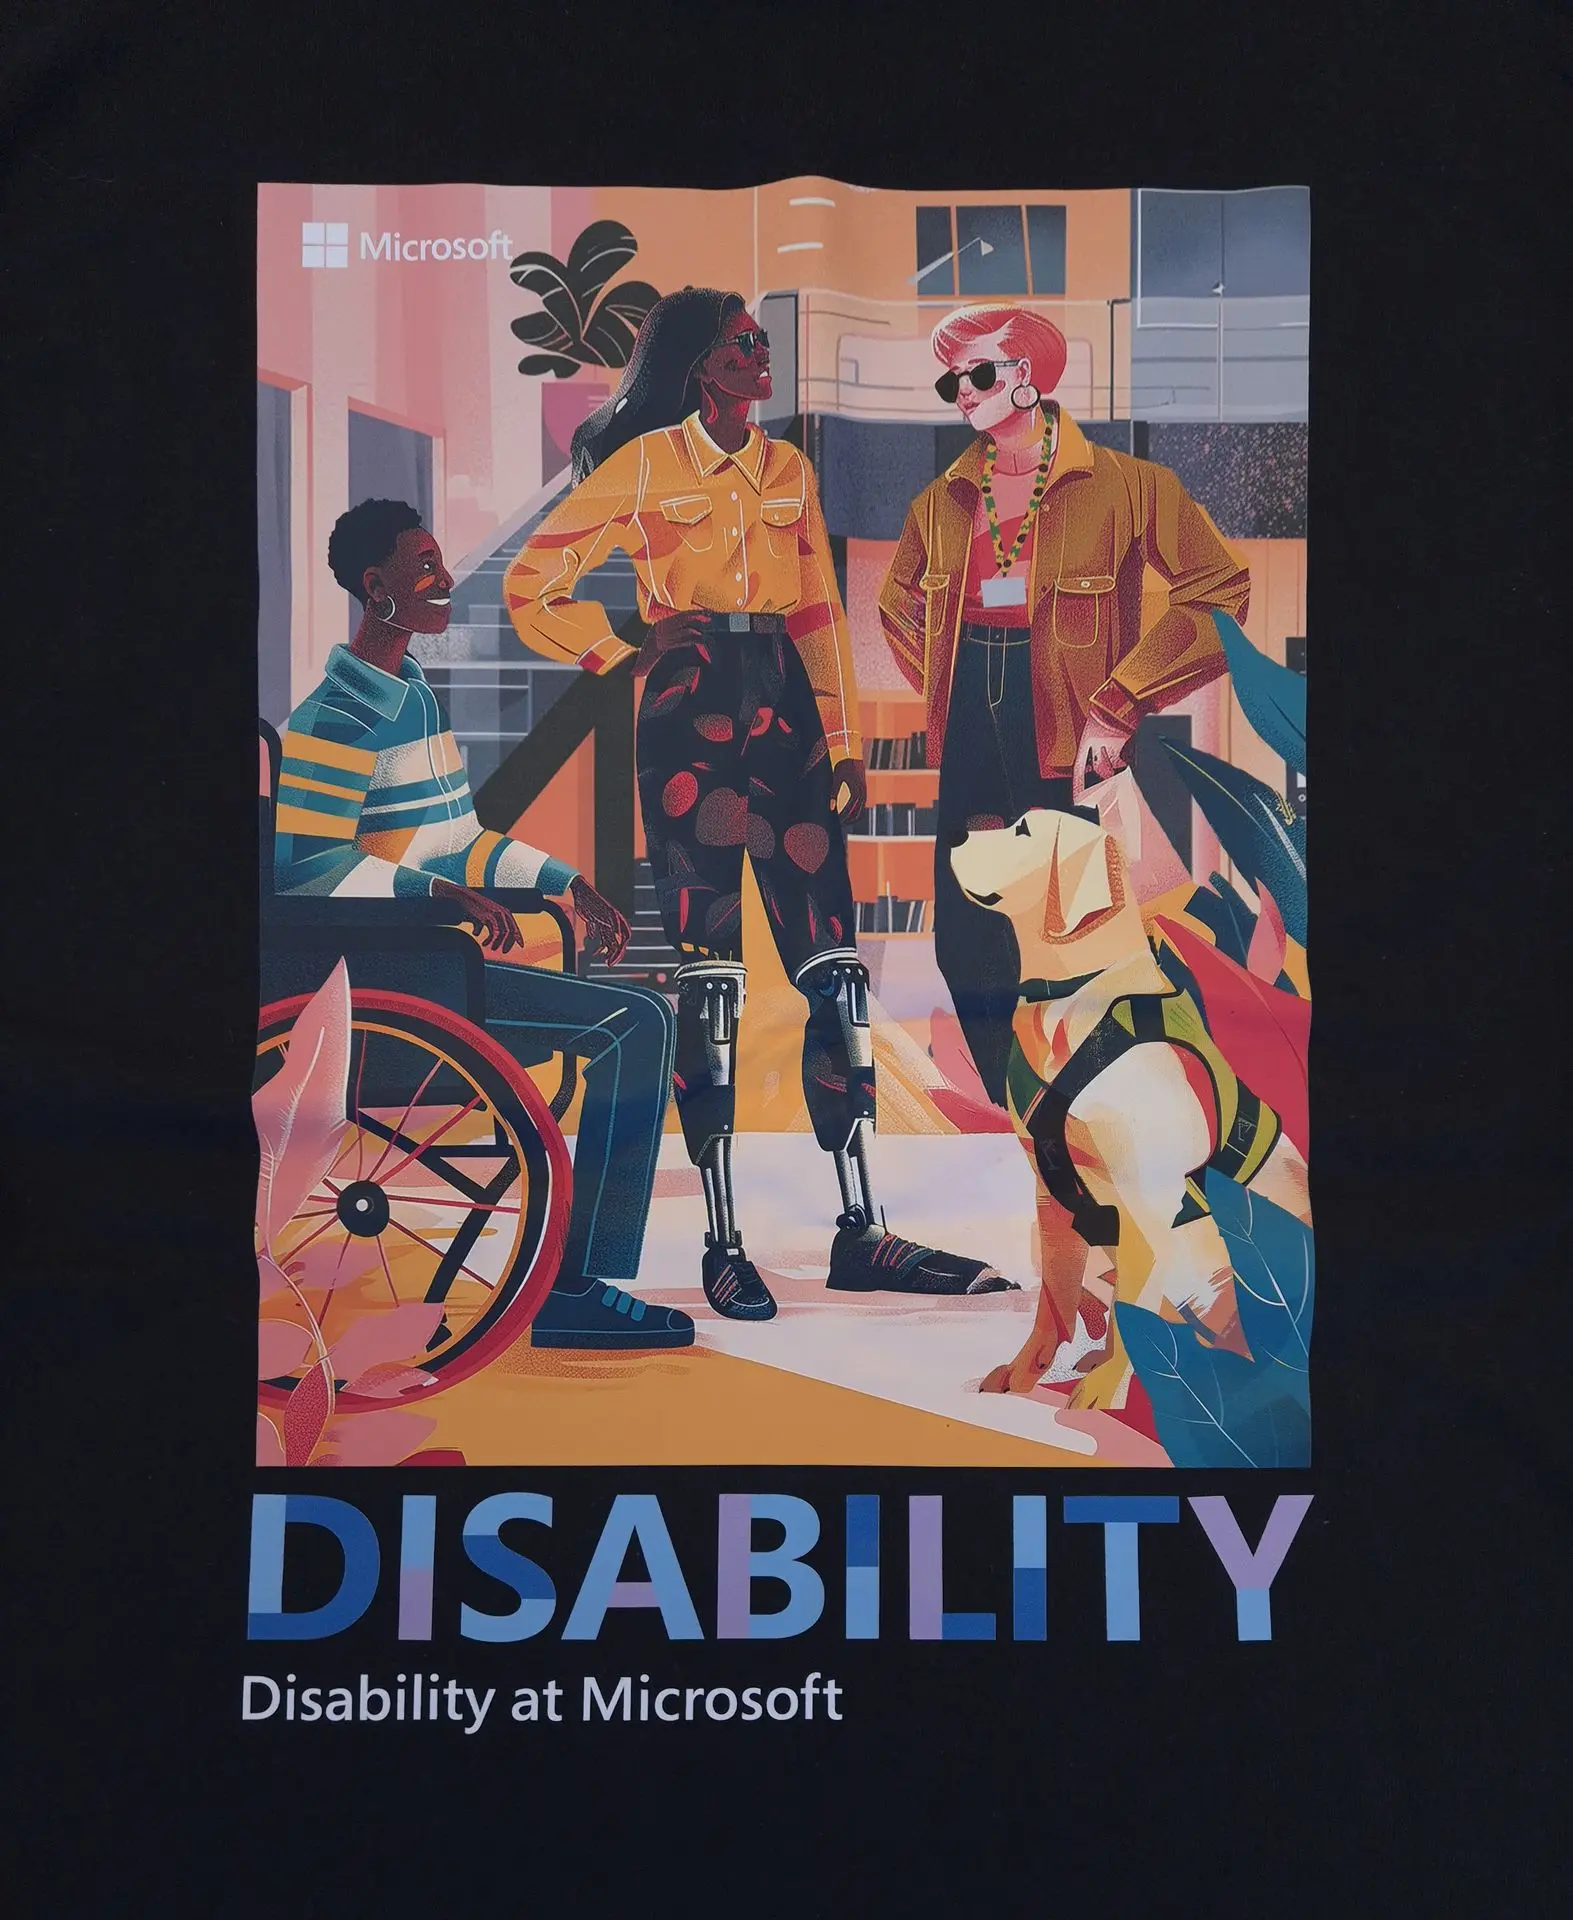
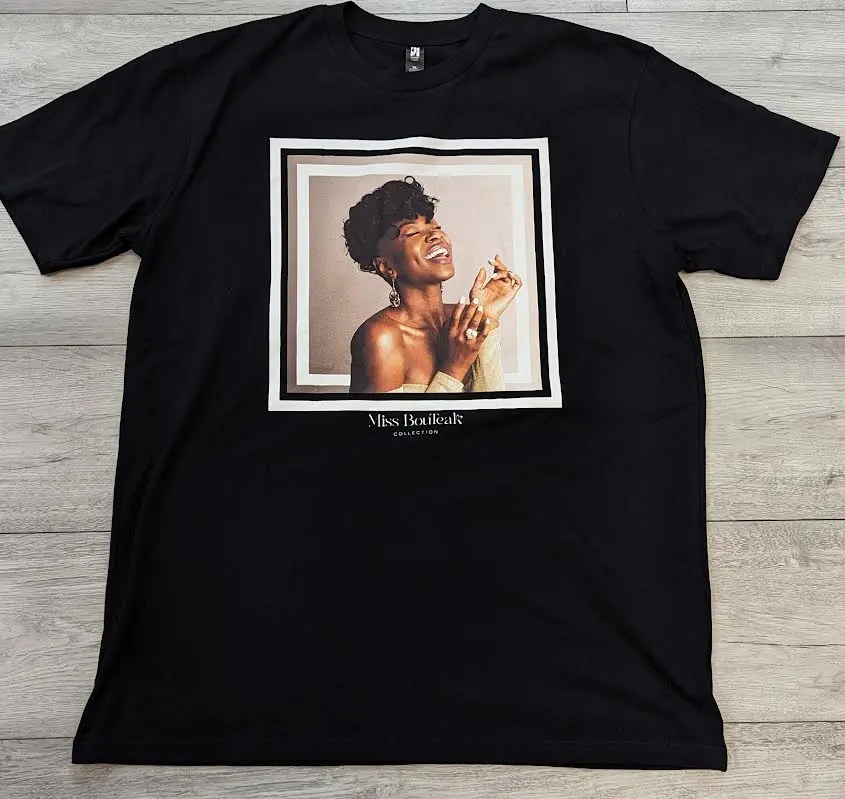
Our DTF Gallery

Get 10% off your first order
Get a quick quote for your next custom project and we'll
give you 10% off or free delivery when you spend £500 or more

